A type of trim called shoe molding, also known as a quarter round is frequently used in interior design, especially for stairs.
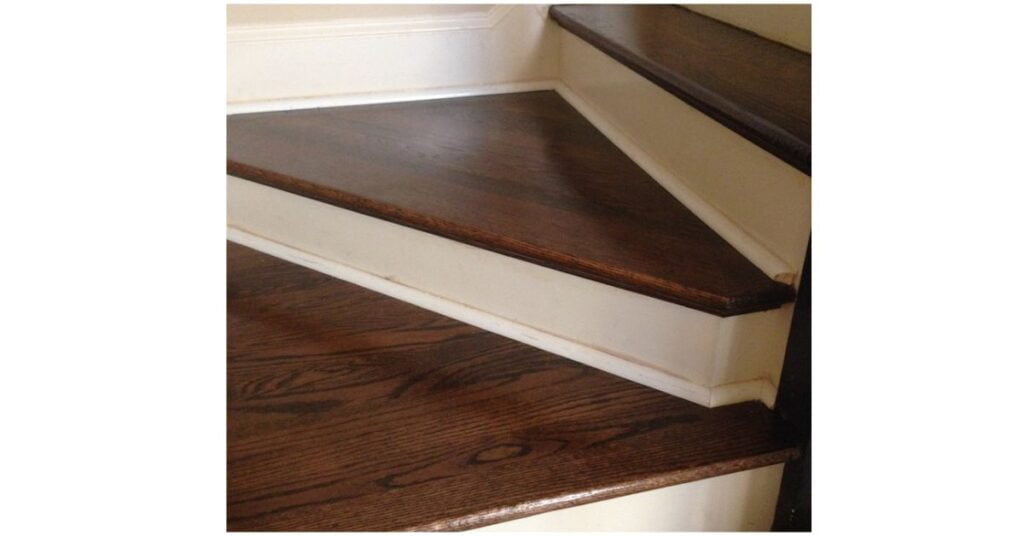
The base of the stair riser, where the riser meets the tread, is installed with a small molding. Its function is to conceal the joint between the riser and tread, giving the stairs a polished and finished appearance.
For a polished and professional appearance, shoe molding must be installed properly. When properly installed, it aids in hiding any imperfections or gaps between the riser and tread, resulting in a smooth transition. In addition, shoe molding shields the joint from abrasion, avoiding potential harm.
in this article, we provide you with complete DIY steps and the required materials. so keep your attention and read this complete blog post which Is all about Shoe Molding on Stairs.
Steps for installing shoe molding on stairs
Measure the stair riser’s length and the quantity of shoe molding needed before you begin.
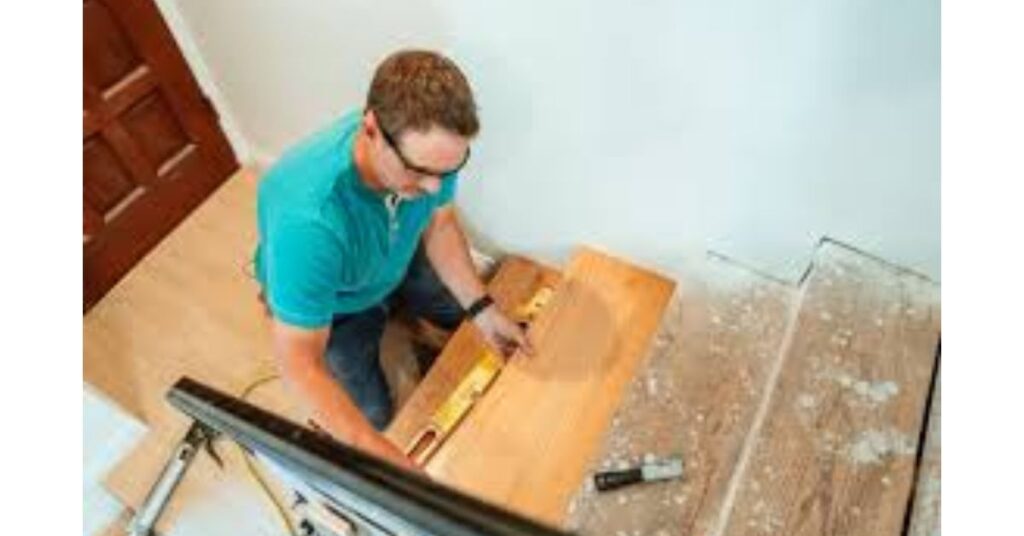
Before beginning the installation, you must ensure you have enough materials. get ready with the required equipment, including a miter saw, measuring tape, hammer, nails, and a nail set.
- Cutting the molding: Cut the shoe molding at 45-degree angles using a miter saw. To ensure seamless joints, measure the length of each required section and make accurate cuts. To ensure a tight fit and a beautiful appearance, it’s critical to measure and cut items precisely.
- Dry fit: Perform a dry fit to ensure that your cuts are accurate before securing the shoe molding in place. To ensure a good fit and alignment, place each piece of molding up against the riser and tread. Before continuing, make any necessary adjustments.
- Apply a small amount of wood glue to the back of the shoe molding, paying special attention to the angled ends, to secure it. Make sure the molding is flush with the edges by pressing it firmly against the riser and tread. Countersink the nails just beneath the molding’s surface using a nail set.
- Finishing touches: After the shoe molding is securely installed in all of its sections, fill any nail holes with wood filler. Allow the filler to dry after smoothing it out. To create a smooth surface, lightly sand the filled areas. Finally, if desired, you can paint or stain the shoe molding to match the adjacent trim or the stairs.
When installing shoe molding on stairs, you can achieve a neat and expert appearance by following these instructions. For the best results, keep in mind to take precise measurements, make exact cuts, and firmly anchor the molding.
Pre-Installation Preparation
Gather all the required equipment and supplies before beginning the installation process.
- Shoe molding/quarter round: Purchase enough shoe molding to cover the full length of each stairway. In case of mistakes or miscalculations, it is a good idea to acquire some extra material.
- Mitre saw: Using this tool, precise cuts will be made on the shoe molding at the proper angles.
- Tape measure: Determine the length of each stair section where the shoe molding will be installed.
- Pencil or marker: Mark the shoe molding’s measurements and cut lines with a pencil or marker.
- Hammer: To firmly anchor the shoe molding, use a hammer.
- Nails: Purchase small finishing nails that are appropriate for securing the shoe molding to the stairway.
- Nail set: To countersink the nails just a little bit below the molding’s surface, use a nail set.
- Wood glue: To ensure a solid connection between the shoe molding and the stairs.
- Wood filler: Fill any nail holes with wood filler to make a smooth surface ready for painting or staining.
Calculate the length of shoe molding required for each stair section. Measure the distance between the end points of each section where the shoe molding will be installed using a measuring tape. For accuracy, measure the riser length and tread length separately.
Work out the angles and cuts necessary to ensure that the shoe molding fits correctly.
Mitered joints are typically made for the corners using 45-degree cuts. Use a protractor or a miter saw angle guide to determine the corner’s angle. Measure the angles and make the necessary cuts if there are other angled sections to ensure a tight fit.
Cut the shoe molding with a miter saw using the measurements and angles established in step one. For the corners, angle the miter saw at 45 degrees. To achieve seamless joints, make sure the cuts are accurate and clean. To reduce errors, double-check the angles and measurements before making any cuts.
You’ll be prepared to proceed to the installation process with confidence if you have all the required tools, have taken accurate measurements, and have carefully cut the shoe molding.
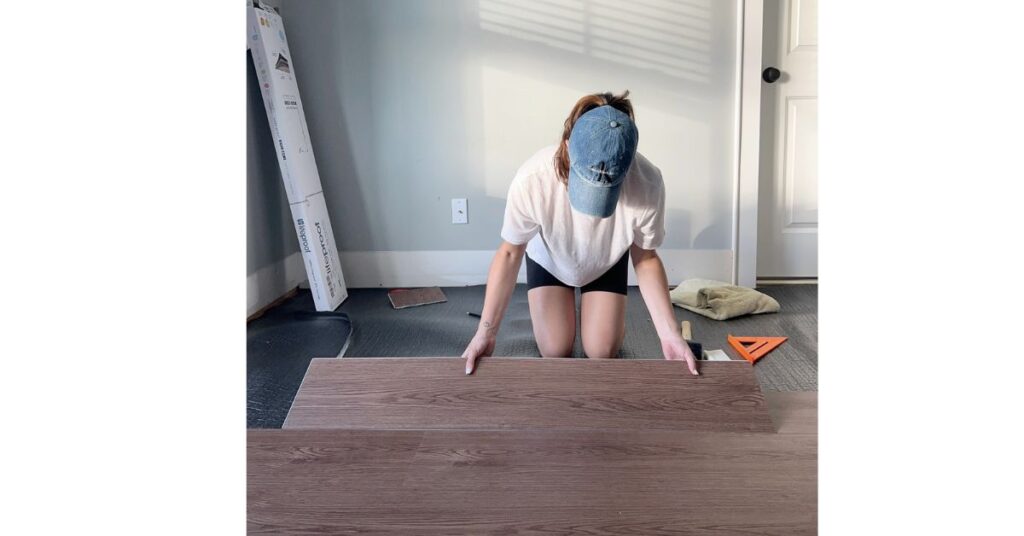
Dry-Fitting the Shoe Molding
- Place a piece of shoe molding against the first section’s stair riser and tread before installing it.
- Make sure that the molding’s top edge conceals any gaps or flaws between the riser and tread and that the bottom edge of the molding rests flush against the tread.
- Verify the shoe molding’s fit and alignment. Make sure there are no gaps or overlaps where the molding meets the riser and tread.
- Make sure the corners and angles are properly aligned by paying attention to them. The riser and tread should transition smoothly into one another thanks to the molding.
- Recut or adjust as necessary to achieve the right fit. You might need to trim or recut the shoe molding if there are gaps or if it doesn’t fit tightly.
- If necessary, make minor modifications to the molding’s angles or length using a miter saw. Be careful to keep corners at 45-degree angles.
- Carry out the dry-fitting procedure for each stairway section of shoe molding. Follow the above steps, focusing on one section at a time. Doing this lets you ensure that every molding piece fits perfectly before moving on to the installation stage.
Attaching the Shoe Molding
- A small amount of adhesive may be optionally applied to the back of each molding piece, but it can add stability. If you decide to use adhesive, run a thin line or a few small dots of wood glue along the molding’s back. A lot of adhesives can leak out and make a mess, so use them sparingly.
- Start installing the system at the bottom of the stairs and work your way up. This makes sure that the subsequent pieces of shoe molding will cover the earlier ones, giving the appearance of a clean, seamless transition.
- Align the shoe molding with the guidelines or markings you made during the dry-fitting process and place it against the stair riser and tread. To ensure that the molding is flush with the riser and tread edges, hold it firmly in place.
- Brad or finish nails can be used to affix the shoe molding. Place the nails along the length of the molding, making sure they go into the wall as well as the stair tread and riser. This will offer a solid connection and stop the molding from separating over time.
- Repetition of the procedure will ensure a tight and secure installation for every section of shoe molding along the stairs. Before securing any piece in place, take your time and check the fit and alignment of each one once more. This will guarantee that your stairs have a polished, professional appearance.
Following these instructions will enable you to securely fasten the shoe molding to the stairs, resulting in a smooth transition between the riser and tread.
Finishing Touches
- Check the installed molding carefully for any gaps or loose pieces after attaching the shoe molding. Verify that the molding is firmly attached along its entire length and that there are no obvious gaps between it and the stairs.
- Fill any gaps or nail holes between the molding and the stairs with wood putty or filler. Using a putty knife, spread the filler into the cracks or holes and smooth it out. For information on how long the filler should dry, consult the manufacturer.
- After the filler has dried, sand the filled areas with sandpaper or a sanding block. By doing so, a smooth surface will be produced, blending the filled areas into the molding as a whole. Sand evenly and lightly to prevent scratching the molding or introducing pronounced texture differences.
- If desired, paint or stain the shoe molding to match the baseboards or surrounding trim. To apply an even coat of paint or stain, follow the directions on the paint or stain can and use a paintbrush or a small foam roller. Before moving forward, let the paint or stain completely dry.
- Remove any extra adhesive, dust, or debris that might have gathered during the installation procedure. To remove any adhesive residue from the molding or surrounding surfaces, use a damp cloth or sponge. Sweep or hoover the stairs to get rid of any dirt or debris. Your newly installed shoe molding will look tidy and polished after doing this.
You can ensure that your shoe molding installation is finished and has a polished appearance by adhering to these final details. To get the desired results, take your time and pay close attention to the details.
Safety Considerations
- When using tools and equipment, safety must come first. Always wear the proper personal protective equipment (PPE), such as safety goggles, gloves, and ear protection as necessary. Ensure you know the way to use the tools you will be using properly and take safety measures to avoid mishaps or injuries. Beware of moving parts, rotating blades, and sharp edges. Consult the manufacturer’s instructions or demand a skillful specialist for advice if you’re unsure how to use a specific tool.
- It is crucial to read and abide by the manufacturer’s instructions when using adhesives and nails. Different adhesive types may require different application techniques, drying times, and safety measures. Be mindful of any ventilation needs or dangers that may come with using adhesives. Similarly to this, nails should be chosen based on how well they will work with the material being installed and for what purpose. To ensure proper installation and structural integrity, adhere to the suggested guidelines for nail size and spacing.
- Each staircase might have distinct qualities or difficulties, especially if it has an unusual design or particular architectural features. If there are any questions or are unsure of how to install shoe molding on your stairs, it is advised that you consult a professional. Insightful advice and assurance that the installation is done correctly and safely can be obtained by speaking with a qualified contractor, carpenter, or experienced individual with experience installing staircases.
Keep in mind that putting safety first while installing shoe moldings is crucial to avoiding mishaps or injuries.
A simple and safe installation will be produced feasible by taking the necessary precautions, following the manufacturer’s instructions, and seeking guidance from professionals as needed.
Conclusion
Several steps are involved in installing shoe molding on stairs: pre-installation cleaning, dry-fitting the molding, attaching the molding, and final touches.
Gathering tools, measuring and cutting the molding, ensuring that it fits, securing the molding, filling holes, sanding, and painting or staining are some of these steps.
To achieve a professional finish throughout the installation process, careful measurement, exact cutting, and proper attachment are essential. Accurate measurements guarantee a tight fit and accurate cuts made at the proper angles produce seamless joints.
Stability is provided by nailing the molding down firmly and, if necessary, by using adhesive. To appear polished, these steps must be carefully attended to.
When installing shoe molding on your stairs, it’s crucial to follow the instructions carefully and take all necessary safety precautions. However, it is strongly advised to seek professional assistance if you are unsure or run into unusual stair setups or problems.
Professionals can offer knowledge, and direction, and guarantee a successful installation.
You can give your stairs a lovely and finished appearance with properly installed shoe molding by following the instructions, paying attention to the details, and getting professional assistance when necessary.
FAQs
Why is shoe molding used on stairs?
Shoe molding is used on stairs to provide a finished and polished look. It helps to cover gaps or imperfections between the riser and tread, giving the staircase a more seamless appearance. It can also protect the edges of the stairs from wear and tear.
What materials are commonly used for shoe molding on stairs?
Shoe molding on stairs is typically made from wood or composite material. Wood moldings, such as oak or pine, is popular due to its natural beauty and ease of customization. Composite materials like PVC or MDF (medium-density fiberboard) offer durability and resistance to moisture and rot.
Can shoe molding be painted or stained?
Yes, shoe molding on stairs can be painted or stained to match the surrounding trim or decor.
Can shoe molding be installed on existing stairs?
Yes, shoe molding can be installed on existing stairs.