
A popcorn ceiling is a type of ceiling finish distinguished by its uneven, stippled appearance.
It is also referred to as a textured or acoustic ceiling. It became well-known in the middle of the 20th century because of its capacity to muffle sound and conceal flaws.
The name comes from the texture’s resemblance to popcorn’s surface.
The original purpose of popcorn ceilings was to provide visual interest and a warm atmosphere.
By absorbing sound, the texture lessens echoes and noise in a space.
Popcorn ceilings are a good way to cover up small flaws like cracks and uneven surfacesAsbestos was used in some earlier formulations to provide fire resistance.
Importance of Proper Preparation
When working with popcorn ceiling spray, preparation is key. This is the reason
- Safety:
- Asbestos Concerns: If your house was constructed prior to the 1980s, asbestos may be present in the popcorn ceiling. If you disturb it carelessly, dangerous fibers may be released into the air.
- Protective Gear: To reduce exposure to dust and possible asbestos, proper preparation calls for the use of safety gear, such as masks, goggles, and disposable coveralls.
- Quality Results:
- Surface Preparation: The ceiling needs to be clean, dry, and free of any loose debris or flaking texture before the spray is applied. A smoother finish and improved adhesion are ensured by properly preparing the surface.
- Fixing Holes and Damage: Take care of any holes, cracks, or damaged sections in the ceiling. For a smooth surface, coat them with joint compounds and sand them down.
- Priming: Using a primer keeps the texture from seeping into the drywall and helps it adhere more evenly.
- Spray Technique: Even texture and consistent coverage are ensured by using the right spray technique. Avert uneven patterns or overspray.
Planning is crucial, whether you’re replacing an old popcorn ceiling or thinking about getting rid of it. 🏠✨
Popcorn Ceiling Spray Materials and Tools
- Spray Gun:
- The main tool used to apply the texture of the popcorn ceiling is the spray gun. It makes uniform coverage and distribution possible.
- Popcorn Ceiling Texture:
- The textured material that gives the ceiling its distinctive popcorn look is present in this mixture.
- The pre-mixed texture is available for purchase on Amazon, or you can make your own with drywall compound or other appropriate materials.
- Painter’s Tape:
- When applying paint, painter’s tape is crucial for preventing overspray on nearby surfaces like trim or walls. Apply it to the corners where the walls and ceiling meet.
- Polymer-coated sheets:
- To avoid texture overspray landing on the floor, furniture, or other items in the room, cover them with plastic sheeting.
- Mask for Respirators:
- First and foremost, safety! By wearing a respirator mask, you can avoid breathing in dust, texture particles.
- Safety Eyewear:
- When applying, keep your eyes safe from any dust or texture particles.
- Step Stool:
- You can reach every spot evenly with a step ladder, depending on how high your ceiling is.
Always take safety precautions, particularly if you think there may be asbestos in your popcorn ceiling. An effective and aesthetically pleasing outcome will be facilitated by careful planning and the appropriate equipment! 🛠🏠✨
Preparing for Popcorn Ceiling Spray: A Step-by-Step Guide
A. Clear the Room
- Remove any furniture, decorations, or items from the room. Clearing the space ensures that you have ample room to work and minimizes the risk of accidentally spraying texture on objects.
B. Cover Floors and Furniture with Plastic Sheeting
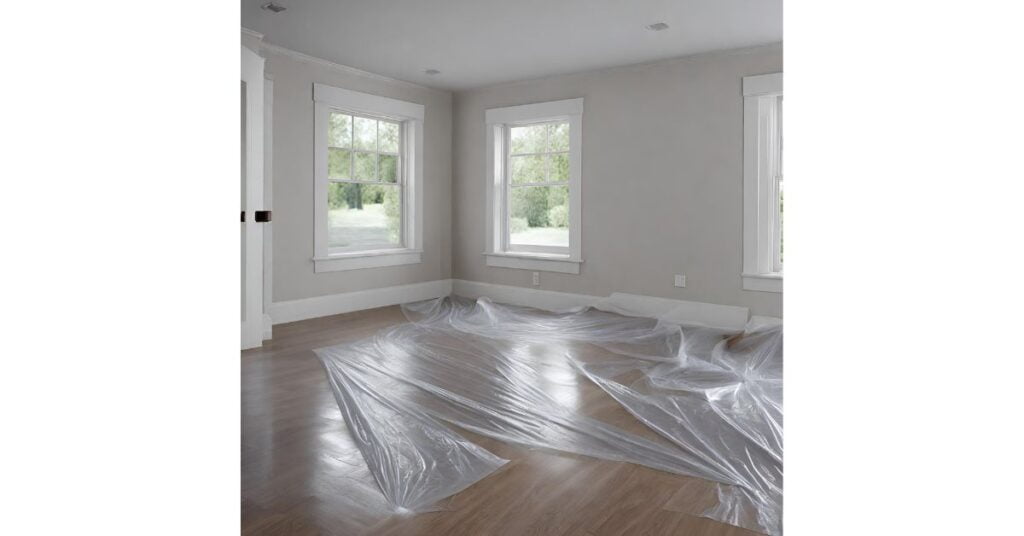
- Lay down plastic sheeting to protect your floors, furniture, and other belongings. This prevents texture overspray from settling on surfaces and makes cleanup easier.
C. Remove Light Fixtures and Ceiling Fan Covers
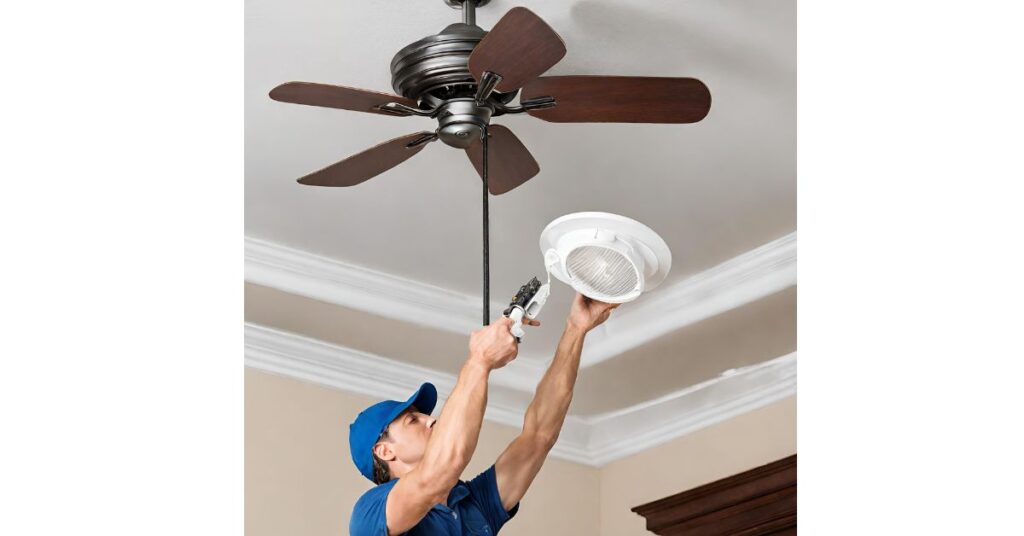
- Take down light fixtures and any ceiling fan covers. This allows you to work on the entire ceiling surface without obstacles.
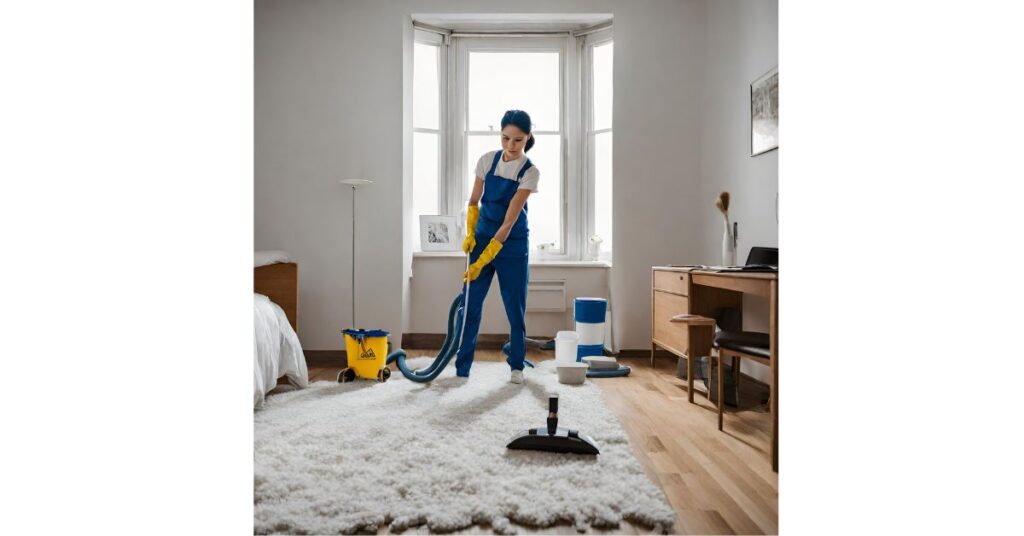
D. Clean the Ceiling Surface
- Dust and wipe down the ceiling to remove any dirt, cobwebs, or debris. A clean surface ensures better texture adhesion.
E. Cover the edges with painter’s tape.
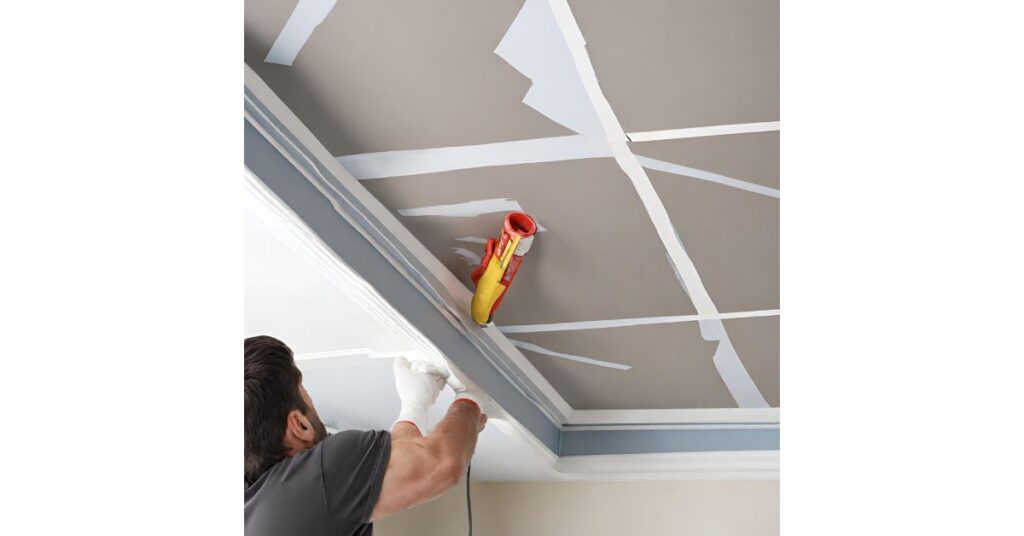
- Painter’s tape should be carefully applied along the edges where the ceiling and walls meet. This guarantees clean lines and shields the walls from overspray.
F. Wear Safety Gear

- Put on your protective gear, such as safety goggles and a respirator mask. Safety comes first, especially if you think your popcorn ceiling may contain asbestos.
Recall that careful planning is the key to a successful popcorn ceiling application. 🛠️🏠✨ Have fun spraying!
Mixing the Texture for Popcorn Ceiling Spray
A. Read Instructions on the Texture Mix
- Go over the directions on the texture mix package carefully. The right water-to-mix ratio and any other relevant information will be provided in these guidelines.
B. Pour Mix into a Large Bucket
- Pour the texture mixture into a big, spotless bucket. Make sure there are no contaminants or residues in the bucket.
C. Follow the instructions when adding water.
- Measure the water according to the recommended amount as per the instructions. The amount of water needed will change depending on the particular texture mix you choose.
- Water should be added to the mixture in the bucket gradually. For a homogenous mixture, stir constantly.
D. Give it a good stir until smooth.
- Blend the texture mix and water together completely using a stick or mixing paddle. Aim for a lump-free, silky consistency.
- Stir the mixture continuously until the desired texture is achieved.
Recall that if you precisely follow the instructions, your popcorn ceiling texture will be ready for application. 🛠️⸏🏠✨ Happy mixing!
Spraying the Ceiling with Popcorn Texture: A Seamless Process
- Test Spray: To start, test the spray on a cardboard or leftover wood piece. This guarantees that you get the right texture and assists you in adjusting the spray gun’s settings.
- Modify Settings: To achieve the desired texture, adjust the settings on your spray gun accordingly. A few things you can change are the spray pattern, nozzle size, and pressure.
- Starting Point: Begin misting the room from a corner. This guarantees even coverage and enables methodical work.
- Work in Sections: Make smaller incisions in the ceiling. Spray carefully, covering the surface one section at a time.
- Consistent Distance: Keep the spray gun and the ceiling at a constant distance. This distance is usually between 12 and 18 inches (30 and 45 cm).
- Overlap Passes: When you spray, slightly overlap each pass. This guarantees consistent coverage and eliminates any gaps.
- Several Coats: To get the desired texture, apply extra coats if needed. Before adding the next coat, let the previous one dry.
Always use appropriate ventilation, take safety precautions, and cover surfaces that aren’t supposed to be painted when applying Popcorn Ceiling Spray. Cheers to beautifying your ceilings with confidence! 🎨🏠
Finishing Touches for Popcorn Ceiling Spray: Elevating Your Space
- Painter’s Tape Removal: Gently peel the tape away from the ceiling’s edges. To prevent scratching the recently painted surface, take your time.
- Clean Up Overspray: Check the space for any overspray that may have gotten on the walls, windows, or other nearby surfaces. Any stray paint can be gently removed with a damp cloth or sponge.
- Let the Texture Dry: It’s all about patience! Allow the texture to fully dry. The drying time should be followed according to the manufacturer’s instructions, which usually vary from a few hours to overnight.
- Replace Light Fixtures and Ceiling Fan Covers: This is the time to put light fixtures and ceiling fan covers back in place if you took them out prior to painting. Verify that they are firmly in place.
- Remove Plastic Sheeting and Clean the Room: Take down any plastic sheeting or protective coverings you used to cover the floors and furniture, then clean the area. Sweep or vacuum the space to get rid of dust and debris.
Your newly textured Popcorn Ceiling Spray will look amazing after these last steps! 🎨✨ Ensure to follow the process diligently for a stunning finish that elevates the ambiance of your space.
Tips and Tricks for Perfecting Your Popcorn Ceiling Spray Technique
- Practice on a Scrap Surface: Use a scrap piece of cardboard or wood to hone your spraying technique before taking on the ceiling itself. This enables you to hone your abilities and gain spray gun comfort.
- Start Small: To get the feel of it, start with a small area. You can gradually spread out to cover the entire ceiling once you’re comfortable doing so.
- Methodical Approach: Proceed methodically throughout the ceiling. Be sure to maintain even coverage and divide it into manageable sections. This stops uneven patterns of texture.
- Consistent Distance: Keep the spray gun and the ceiling at a constant distance. This guarantees even application of texture. Usually, you want to be between 12 and 18 inches (30 and 45 cm) above the surface.
- Complete Cleaning: Make sure the spray gun is completely clean after finishing your project. Its lifespan can be extended and optimal performance can be ensured for future use with proper maintenance.
I hope you have fun spraying and that your Popcorn Ceiling Spray turns out gorgeous! 🎨🏠 Remember, with the right techniques and precautions, your ceilings will soon boast a beautiful and textured finish!
Prioritizing Safety: Essential Precautions for Popcorn Ceiling Spray Application
- Put on the Proper Safety Gear: Before you begin, put on protective clothes, a dust mask, and goggles. This protects you from any inadvertent particles or overspray.
- Achieve Appropriate Ventilation: Proper ventilation is essential. To let in fresh air, open your doors and windows. Make sure there is enough airflow if you are using any chemicals to avoid breathing in fumes.
- Refrain from Spraying Next to Electrical Outlets or Fixtures: Exercise caution when near electrical outlets, switches, and light fixtures. To keep paint or texture from getting to them, cover them tightly with painter’s tape or plastic sheeting.
- Follow the Manufacturer’s Instructions for the Texture Mix: When creating your own texture, pay close attention to the instructions provided by the manufacturer. Inaccurate ratios of mixing can have an impact on the outcome.
- Get Rid of Unused Items Correctly: In compliance with local laws, dispose of any leftover paint, texture mix, or other materials after finishing the project. Do not dispose of them carelessly or down the drain.
Always prioritize your safety! 🙏️🎨
conclusion:
Recap of the Popcorn Ceiling Spray Process:
Finally, popcorn ceiling spray provides an easy and fast way to update your area. A professional finish that improves the visual appeal of your ceilings can be achieved by following the instructions, taking safety precautions, and utilizing useful tips and tricks.
- Test Spray: To fine-tune the spray’s settings and attain the ideal texture, start by testing it on a scrap surface.
- Spraying Technique: Proceed methodically, keeping your distance from the ceiling constant. To ensure even coverage, overlap passes.
- Several Coats: If necessary, apply a second coat, but let it dry completely between each application.
- Final Touches: Take off the painter’s tape, tidy up any leftover spray, and change the fixtures.
- Advice and Techniques: Practice, begin small, and give your spray gun a thorough cleaning.
- Safety Precautions: Use the proper protective gear, make sure there is adequate ventilation, stay away from electrical fixtures, pay attention to directions, and dispose of materials correctly.
- A successful outcome is ensured by proper preparation.
- Throughout the process, safety precautions keep you and your surroundings safe.
Remain confident and satisfied, and may your ceiling bring you joy! Please ask if you have any more home improvement projects. 😊
FAQs
What is a popcorn ceiling spray?
A popcorn ceiling spray is a textured coating applied to ceilings using a specialized spray gun or equipment. It creates a rough, bumpy texture resembling popcorn, hence the name.
Why are popcorn ceilings popular?
Popcorn ceilings were popular in the past due to their ability to hide imperfections, provide acoustic insulation, and add visual interest to a room. They were also cost-effective and easy to apply.
Is popcorn ceiling spray safe?
When applied properly and with adequate ventilation, popcorn ceiling spray is generally safe. However, it’s crucial to wear appropriate safety gear, including a respirator mask and safety goggles, to protect against inhalation of particles and fumes.
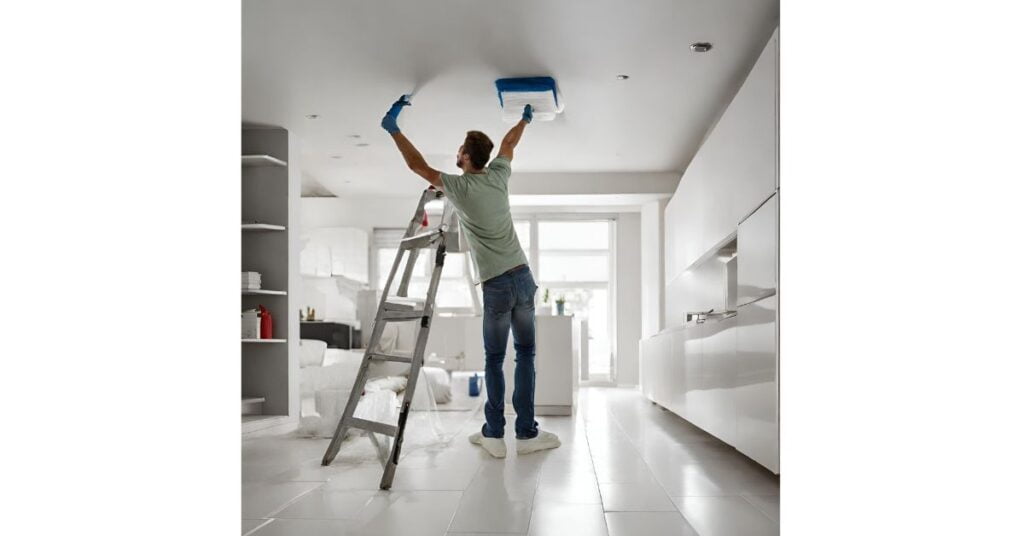
Can I paint over a popcorn ceiling?
Yes, you can paint over a popcorn ceiling, but it’s essential to use the appropriate type of paint and application technique. Use a roller with a thick nap to avoid dislodging the texture, and consider using a paint sprayer for more coverage.
How do I clean and maintain a popcorn ceiling?
To clean a popcorn ceiling, use a soft-bristled vacuum attachment or a dry microfiber cloth to remove dust and debris gently. Avoid using water or cleaning solutions, as they can damage the texture.
Also Read:
How To Install Drop Ceiling In Basement: A Comprehensive Guide