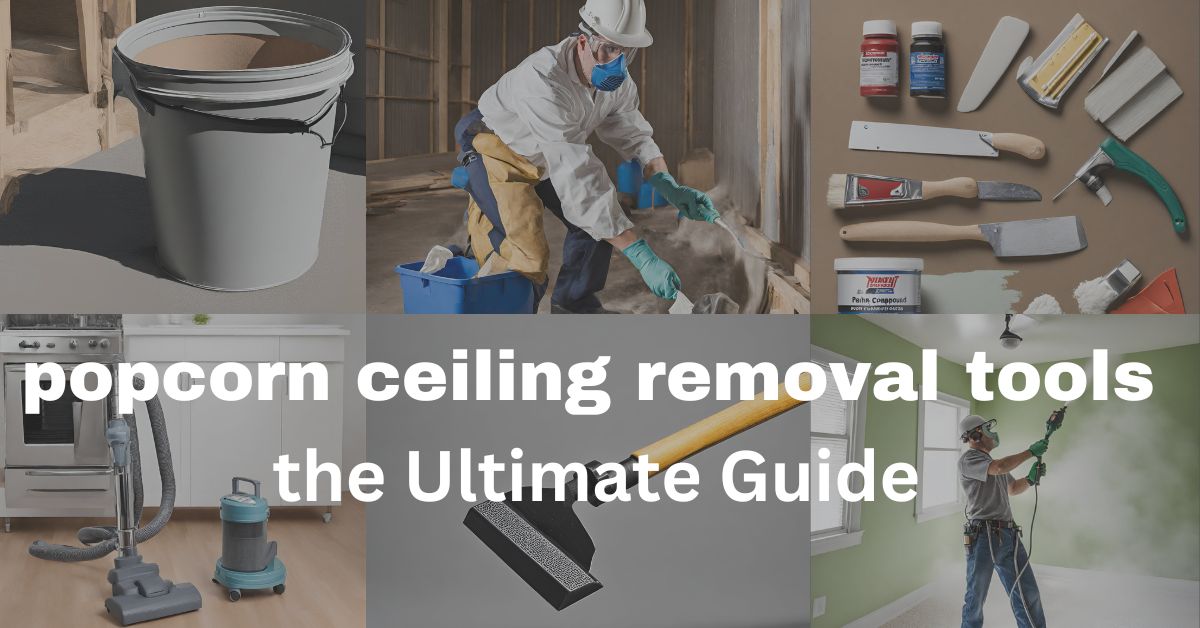
Popcorn ceilings have been a common option in residential construction in the past due to their cost-effectiveness and acoustic qualities.
popcorn ceilings are distinguished by their textured appearance that resembles cottage cheese or popcorn kernels.
But as a result of their outdated appearance and possible health risks, they have lost popularity. therefore popcorn ceiling removal tools are necessary for popcorn ceiling removal.
according to the government research asbestos-textured ceilings may cause lung cancer.
Asbestos is frequently found in older popcorn ceilings, so removals are motivated by anything from aesthetic preferences to safety concerns.
The importance of using the appropriate tools for this popcorn ceiling removal job should not be understated as homeowners begin the process of removing popcorn ceilings.
An effective removal process can be improved by the use of the right tools, which also guarantee efficiency and effectiveness.
Common Reasons for Removal:-
- Aesthetic concerns: Talk about the dated look of popcorn ceilings and how they affect the overall aesthetics of a room.
- Health risks: Examine the possible risks related to materials containing asbestos, frequently found in older popcorn ceilings.
- Other reasons: Additional factors Discuss other issues that drive homeowners to remove popcorn ceilings, like hygienic concerns and painting or repairing.
Precautions and Safety Measures:-
- Importance of asbestos testing: Draw attention to the fact that, given the health risks connected with asbestos exposure, it is imperative to test popcorn ceilings for asbestos before beginning removal.
- Furniture and floor protection: Stress the importance of protecting other possessions, including furniture, from potential damage and debris during the removal process.
- Personal protective equipment (PPE): Emphasize the need to use the proper protective equipment (PPE), such as gloves, goggles, and respirators, to reduce the risks to one’s health associated with breathing in dust and other particles.
Homeowners can approach popcorn ceiling removal with confidence and safety in mind if they understand the basics of the procedure, including its motivations and related safety measures.
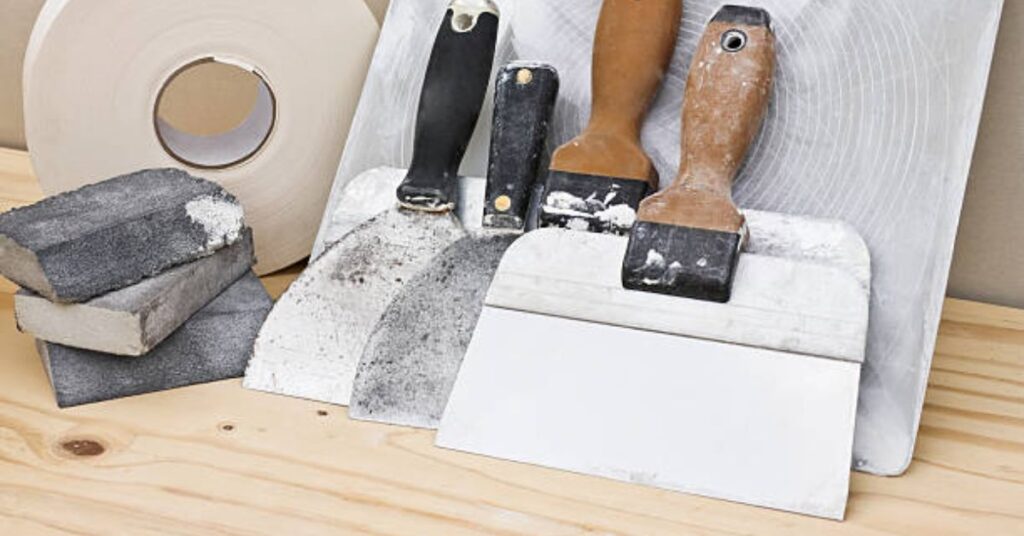
Essential Tools for Popcorn Ceiling Removal
This section will cover the essential tools needed to remove popcorn ceilings safely and effectively. Every tool is essential to the removal process because it increases its efficiency and reduces hazards. The necessary instruments are listed below, along with thorough explanations of their functions and uses:
1. Scrapers: –
- Types: powered (electric or pneumatic) and manual scrapers.
- Purpose: Powered scrapers are more efficient and are best suited for larger projects, whereas manual scrapers work well for small spaces and fine details.
- Usage: Powered scrapers offer mechanical assistance for quicker removal, while manual scrapers are used to carefully scrape away the popcorn texture layer by layer.
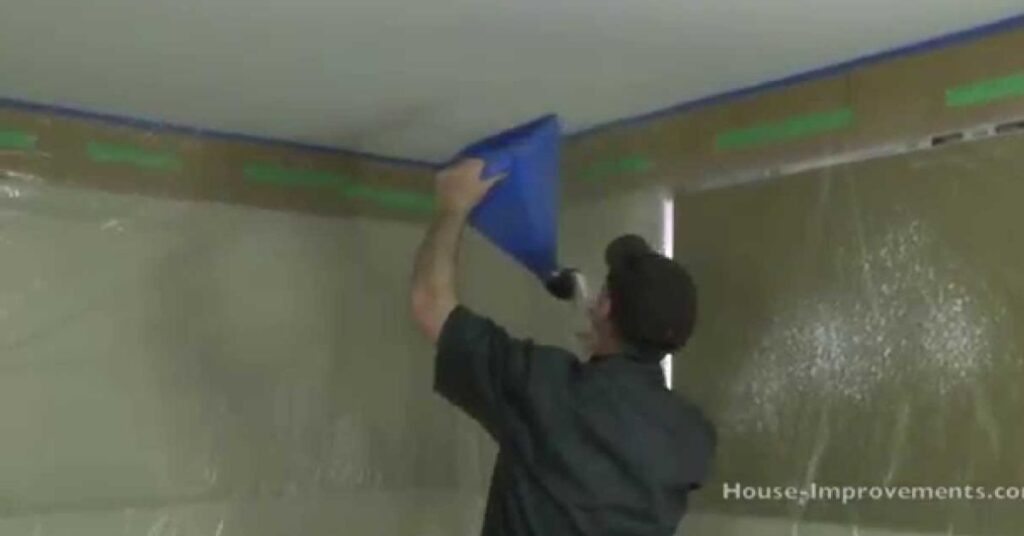
2. Sprayers: –
- Types: Pump and compressor-based sprayers.
- Purpose: Sprayers are used to mist the popcorn ceiling with water, softening its texture and making scraping off easier.
- Usage: Sprayers with compressors work well for large-scale projects because they deliver steady pressure for uniform application. Pump sprayers are more suited for smaller spaces and are more portable.
3. Safety Equipment: –
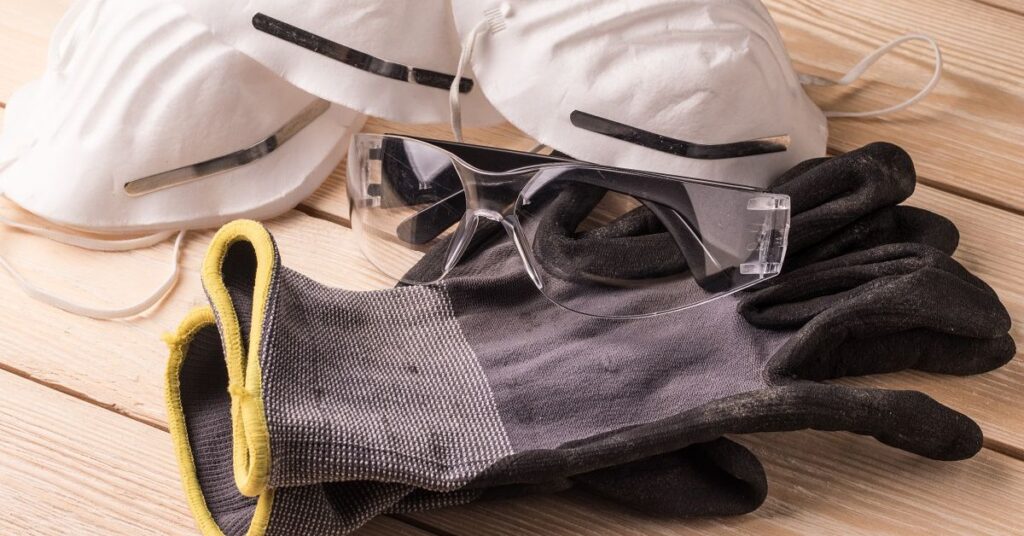
- Gear: Goggles, gloves, protective clothes, and a respirator.
- Purpose: Wearing protective gear during the removal process is crucial to preventing inhalation of dust, debris, and asbestos fibers.
- Usage: Put on gloves for hand protection, goggles to shield eyes from debris, a respirator to filter out airborne particles, and appropriate clothing to reduce skin exposure.
4. Plastic sheeting and drop cloths:–
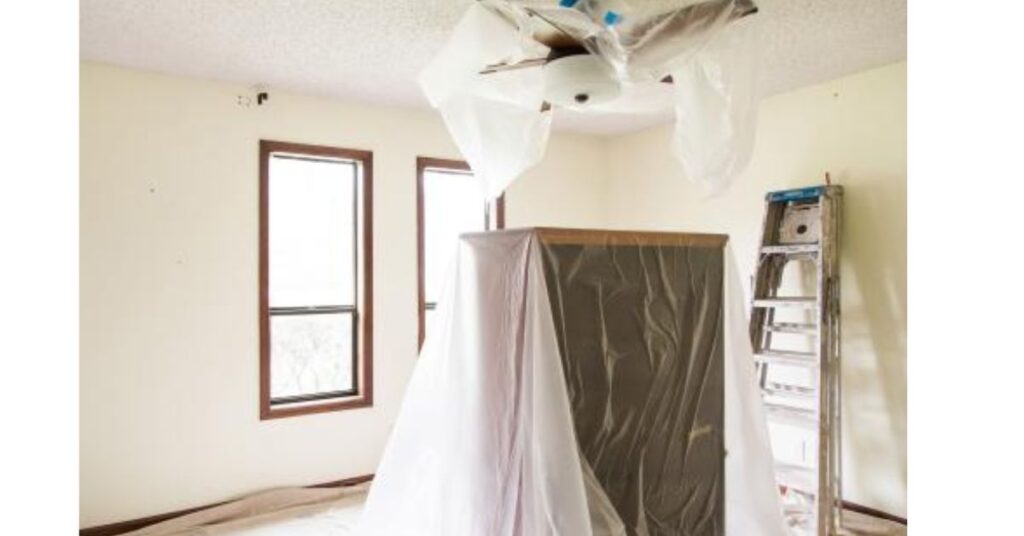
- Purpose: Plastic sheeting and drop cloths are used to shield furniture, floors, and other surfaces from spills of paint, moisture, and debris.
- Usage: To minimize damage and speed up cleanup, place drop cloths on the floor and cover furniture with plastic sheeting before beginning the removal process.
5. Sanding Tools: –
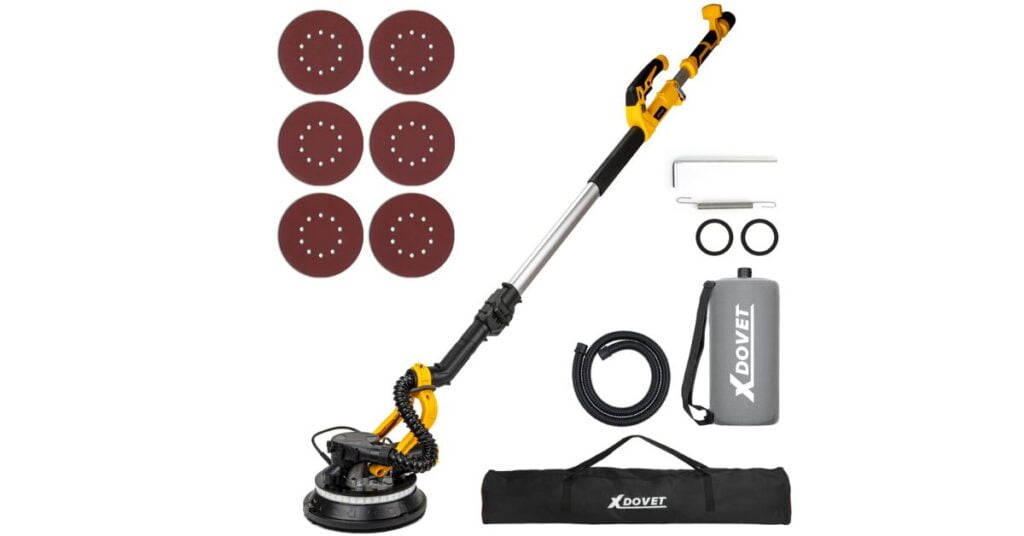
- Equipment: Sandpaper, sanding blocks, or orbital sanders.
- Purpose: Sanding tools are used to create a uniform and seamless finish on the ceiling by smoothing the surface after popcorn removal.
- Usage: Before applying fresh finishes or paint, sand any uneven or rough areas on the ceiling surface to create a smooth and even texture.
Popcorn ceilings can be safely and effectively removed by homeowners with the use of these key tools and the right methods, completely remodeling their living areas with a fresh and modern aesthetic.
Optional Tools for Enhanced Efficiency
The fundamentals of popcorn ceiling removal are covered by the necessary tools, but additional tools can improve productivity, simplify the procedure, and guarantee a smoother result. We’ll go over some more tools that homeowners should think about using for a better removal experience here:
1. HEPA Filter Vacuum: –
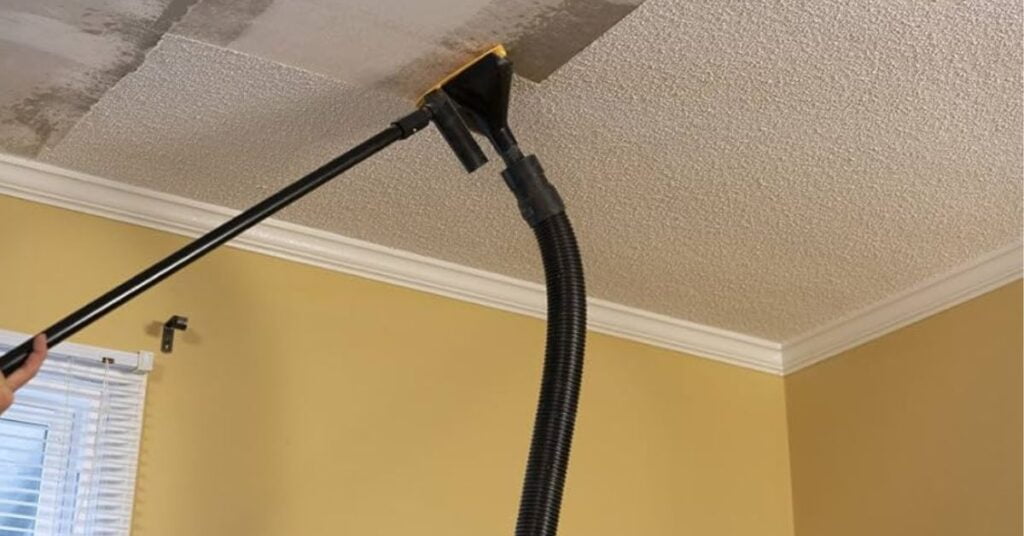
- Importance: For complete cleanup and to reduce airborne dust and debris, it is essential to use a vacuum that has a High-Efficiency Particulate Air (HEPA) filter.
- Benefits: HEPA filters reduce the risk of respiratory irritation or health problems by capturing fine particles, including potentially dangerous materials like asbestos fibers. This results in cleaner air.
- Usage: To ensure a safer and cleaner work environment, use the vacuum equipped with a HEPA filter to collect loose dust and popcorn ceiling debris both during and after the removal process.
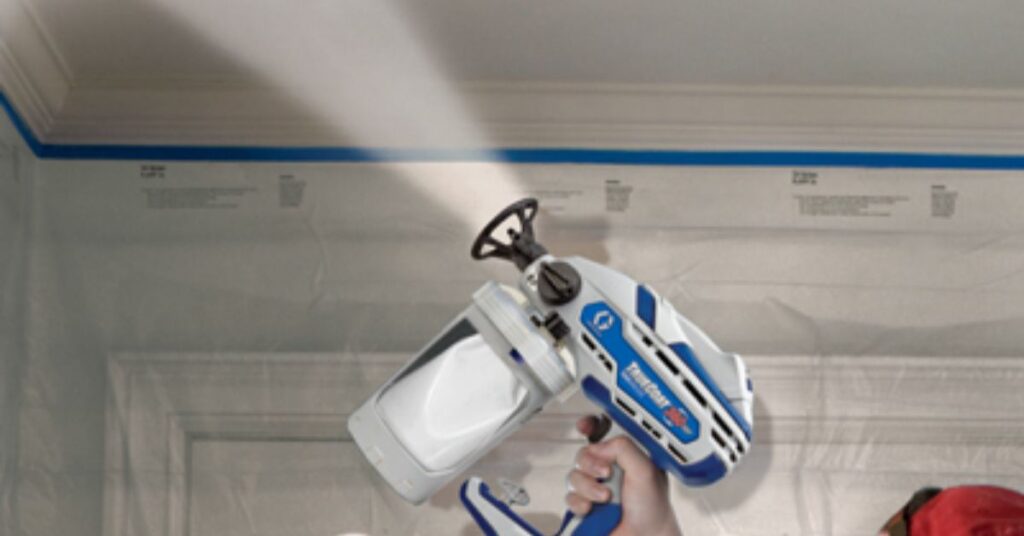
2. Texture Sprayer:–
- Purpose: If homeowners prefer a textured finish over a smooth surface, a texture sprayer provides an easy way to apply fresh texture to the ceiling after popcorn removal.
- Benefits: Texture sprayers match existing or desired aesthetics by offering uniform application and the ability to recreate different ceiling textures, such as orange peel or knockdown.
- Usage: For best results, use a texture sprayer to evenly apply the desired texture throughout the area after removing the popcorn texture and prepping the ceiling surface. Follow the manufacturer’s instructions.
3. Equipment for Drywall Repair: –
- Equipment: Paint, joint compound, putty knives, sandpaper, and drywall patch kits.
- Purpose: These tools are necessary to fix any holes, dents, or scratches in the ceiling surface that can occur during the popcorn ceiling removal process.
- The following are the Benefits of proper repair: it removes visible imperfections and prepares the ceiling for painting or finishing, ensuring a seamless and flawless finish.
- Usage: Coat damaged areas with joint compound or patching material, use putty knives to smooth the surface, sand the repaired areas to a smooth finish, and touch up with paint that matches the surrounding ceiling.
A popcorn ceiling removal project can be made more efficient and high-quality by homeowners thinking about adding optional tools like a texture sprayer, a vacuum with a HEPA filter, and drywall repair tools. With the least amount of trouble and downtime, these tools help achieve professional-looking results while also making the removal process easier.
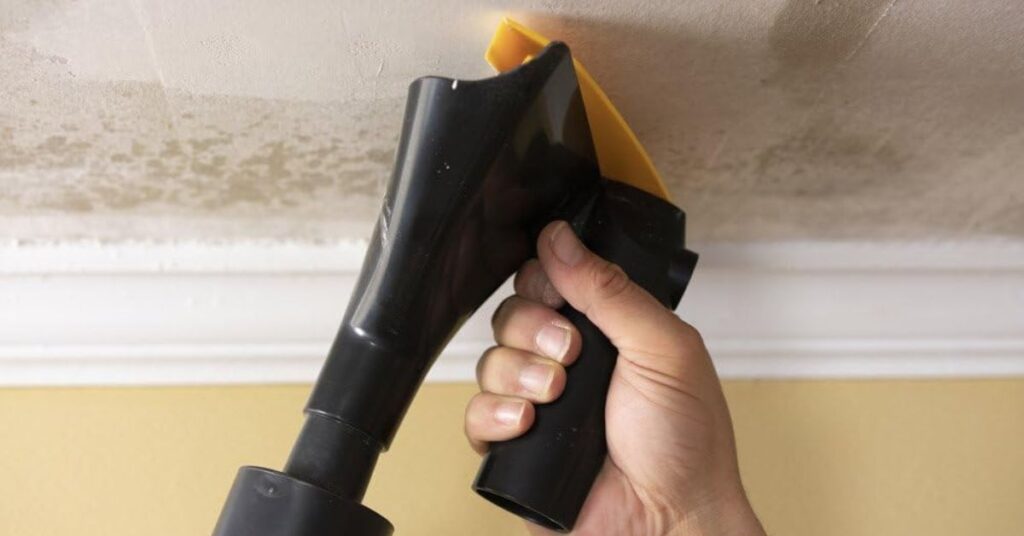
popcorn ceiling removal tool with The Bucket
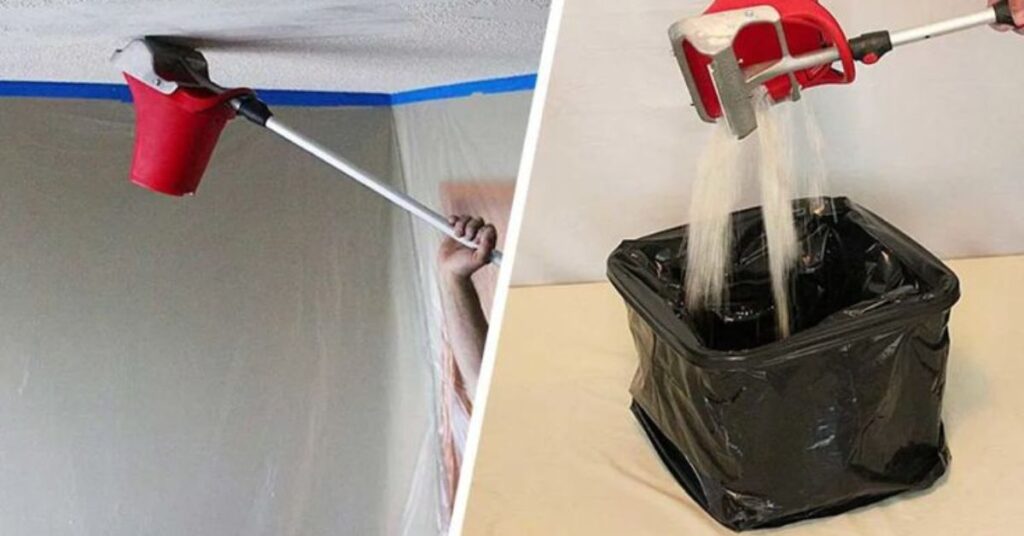
- Scraping: Use the handle-mounted scraper to carefully remove the popcorn texture from the ceiling. When the texture is scraped off, it falls into the bucket attachment.
- Collection: To keep the scraped-off popcorn texture from flying everywhere in the room, the bucket attachment gathers it, making cleanup easier to handle.
- Disposal: The bag or liner inside the bucket can be taken out and thrown away, keeping the debris contained, once the bucket attachment is full or the scraping is finished.
Tips for Using Popcorn Ceiling Removal Tools
We’ll offer helpful advice and tips in this section to help homeowners use tools for popcorn ceiling removal safely and efficiently.
To guarantee a successful removal process, these pointers include useful methods, tool maintenance guidance, and essential safety reminders
1. Effective Tool Usage: –
- Scrapers: To prevent scratching the ceiling surface, hold the scraper at a slight angle and apply light pressure. Work in little segments, evenly scraping away the popcorn texture.
- Sprayers: Set the nozzle of the sprayer to a fine mist and evenly distribute water over the ceiling. Before scraping, give the water enough time to soften the texture.
- Protective Gear: To reduce exposure to dust and potential hazards, make sure all protective gear, such as respirators, goggles, and gloves, is worn correctly throughout the removal process.
- Plastic Sheeting and Drop Cloths: Tightly fasten plastic sheeting and drop cloths to stop moisture and debris from leaking through. Check frequently and replace as needed to keep effective protection.
2. Tool Maintenance: –
- Regularly Clean Tools: Scrapers, sprayers, and other tools should be well cleaned after every use to get rid of accumulated debris and stop corrosion or damage.
- Check for Damage and Wear: Check tools periodically for wear and tear indicators, like dull scraper blades or clogged sprayer nozzles. As necessary, replace or repair to ensure optimal performance.
- Storage Adequately: To keep tools from rusting or deteriorating, store them in a dry, well-ventilated place. For easy access and to prevent damage, hang scrapers and sprayers from hooks or store them in containers that are specifically made for them.
3. Safety Measures: –
- Asbestos Examination: If your house was constructed before the 1980s, think about having an asbestos test conducted before beginning the removal procedure. If asbestos is found, get expert help for a safe removal.
- Ventilation: To reduce airborne dust and enhance air quality, make sure the workspace has enough ventilation by opening windows and using fans.
Remain Hydrated: To avoid fatigue and dehydration, stay hydrated during the removal procedure, especially if you are wearing protective gear. - Take Breaks: To prevent overexertion and preserve focus, take regular pauses to relax and recharge, particularly during extended removal sessions.
Homeowners may remove popcorn ceilings effectively and safely, transforming their living spaces with assurance and peace of mind, by heeding these suggestions and maintaining appropriate tool usage, upkeep, and safety measures.
Conclusion:
To sum up, removing a popcorn ceiling is a big home renovation project that needs to be carefully planned, done with the right tools, and done safely.
We have stressed the importance of having the appropriate tools for a seamless and effective removal process throughout this guide.
For popcorn ceiling removal to be done quickly and successfully, the right tools are needed.
Every tool, from sprayers and scrapers to safety gear and repair tools, has a specific function in streamlining the removal process and producing the intended outcomes.
We’ve emphasized the value of asbestos testing and the necessity of obtaining expert assistance if asbestos is detected or if homeowners are concerned about carrying out the removal procedure safely.
A combination of the proper equipment, methods, and safety precautions is needed to remove popcorn ceilings successfully.
Homeowners can tackle the removal process with confidence and accomplish a seamless and successful result by adhering to the advice and recommendations in this guide.
Homes can makeover their interiors and create a safer, more aesthetically pleasing environment by updating the interior design or taking care of health issues.
FAQs
What tools do I need to remove a popcorn ceiling?
The essential tools for popcorn ceiling removal typically include scrapers (manual or powered), sprayers (to apply water for softening the texture), protective gear (respirator, goggles, gloves), drop cloths, and plastic sheeting (to protect surfaces), and sanding equipment (for smoothing surfaces after removal).
Can I remove a popcorn ceiling without using a sprayer?
While using a sprayer to apply water is the most common method for softening the texture of a popcorn ceiling before removal, some homeowners opt for alternative methods such as misting with a spray bottle.
Do I need to test my popcorn ceiling for asbestos before removal?
If your home was built before the 1980s, it’s advisable to test the popcorn ceiling for asbestos before removal. Asbestos-containing materials were commonly used in construction during that period, and disturbing them without proper precautions can pose health risks.
Can I repair any damage to the ceiling myself after popcorn removal?
Yes, minor damage to the ceiling surface, such as scratches or dents incurred during removal, can typically be repaired by homeowners using drywall repair tools such as joint compound, putty knives, sandpaper, and paint.
Do I need to hire professionals for popcorn ceiling removal?
While popcorn ceiling removal can be a DIY project, homeowners should assess their comfort level, time constraints, and the scope of the project before deciding. If the popcorn ceiling contains asbestos or if the project is extensive, hiring professionals may be advisable for safety and quality assurance.
Also Read: