
In this blog post you will learn How to balance a ceiling Fan. A balanced ceiling fan is necessary to ensure silent operation and smooth running.
A fan may become unbalanced over time due to various factors such as wear and tear, dust buildup, or incorrect installation, which can result in wobbling and distracting sounds.
Although balancing kits can be bought easily, not everyone may be able to afford them. But worry not!
We’ll look at some different ways how to balance your ceiling fan without a balancing kit in this do-it-yourself tutorial (DIY).
Understanding the Issue
An unbalanced ceiling fan can produce a number of noticeable problems, the most common of which are wobbling and noise when the fan is operating.
A fan that is out of balance will often shake or oscillate, creating an uncomfortable wobbling motion.
Furthermore, when the fan rotates, the imbalance in its blades may produce excessive noise.
In addition to being unattractive and noisy, an unbalanced fan can reduce energy efficiency.
The fan needs more energy to run efficiently as it strains to rotate smoothly against the resistance brought on by the imbalance.
Apart from augmenting the expenses on electricity, this heightened energy consumption unduly strains the fan’s motor and other components, potentially diminishing its longevity.
Consequently, keeping your ceiling fan balanced will extend its lifespan, optimize energy savings, and raise comfort levels all at once.
Signs of an Unbalanced Fan
Determining whether the balance of your ceiling fan is off is essential for efficient troubleshooting and repair. The following are typical indicators to be aware of:
Wobbling: Noticeable wobbling while the fan is operating is one of the most obvious indicators that it is unbalanced. Your fan is probably out of balance if it shakes or oscillates a lot when it is operating.
Noise: An unbalanced fan may make a variety of noises, such as clicking, rattling, humming, or even banging. The irregular movement of the blades against the imbalance is usually the source of these noises.
Uneven Airflow: An imbalanced fan can also be identified by its uneven airflow distribution. Even though the fan is running at a constant speed, you may notice that some parts of the room are not getting as much air circulation as others.
Overly Vibrating: A well-balanced fan should run smoothly and not cause too many vibrations. An imbalance problem may be indicated if you notice noticeable vibrations, particularly when you touch the fan or its mounting hardware.
Examine your ceiling fan both visually and aurally while it’s running. Listen for strange sounds, look for any abnormalities in movement and evaluate how the air is distributed throughout the space.
you can more accurately diagnose the underlying imbalance and carry out the necessary corrective actions described in this DIY guide by pinpointing specific problems with their fans.
DIY Tools and Materials
It’s crucial to gather the required tools and materials before beginning the DIY ceiling fan balancing process.
Although balancing kits are easily bought, you can also use everyday household items as substitutes. What you’ll need is as follows:
Tools
- To safely access your ceiling fan for maintenance and inspection, use a step ladder or a sturdy stool.
- Screwdriver or Allen wrench: The type of tool you need to tighten or loosen screws and modify the pitch of the blades on your fan will depend on its design.
- Optional balancing clip: A balancing clip can help identify the imbalance if you have one from a previous kit or can buy one separately.
Material
- To ensure smooth operation, use a microfiber cloth or dusting brush to remove any dust or debris from the fan blades and housing.
- Painter’s tape or adhesive weights: You can add weight to the fan blades for balance by using common household items like painter’s tape or adhesive weights (like coins or washers).
- A yardstick or ruler can be used to measure and guarantee a consistent blade height while adjusting.
You can use common household items to achieve effective balancing with a little ingenuity and creativity. So get your supplies and tools ready, and let’s begin balancing your ceiling fan on a budget!
Steps for How to Balance a Ceiling Fan
Inspection
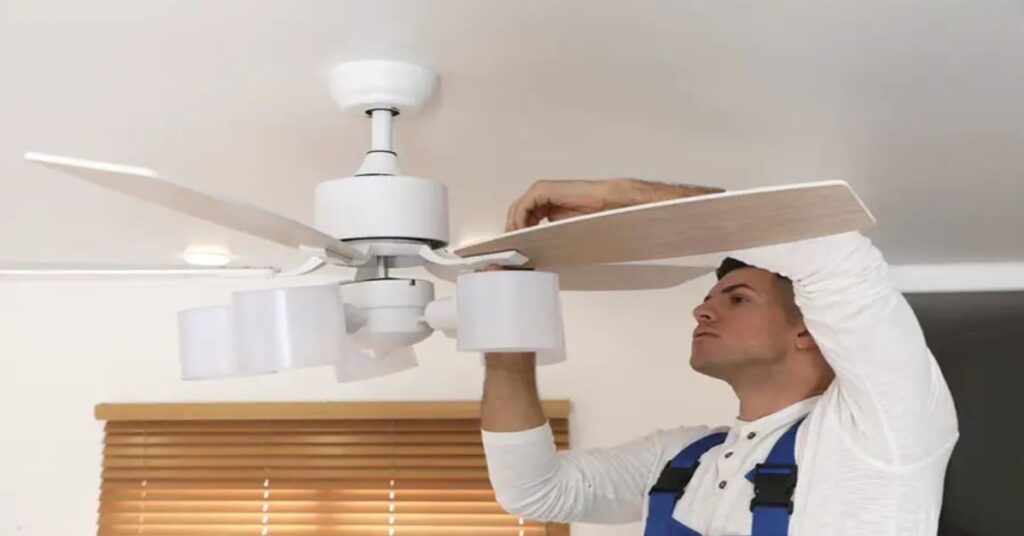
First, turn off the ceiling fan and give it a careful inspection. visually inspect the fan to look for any obvious problems, like bent blades, loose screws, or other anomalies.
Examine the motor housing, blade brackets, and mounting hardware for any wear or damage that might be causing the imbalance.
Cleaning
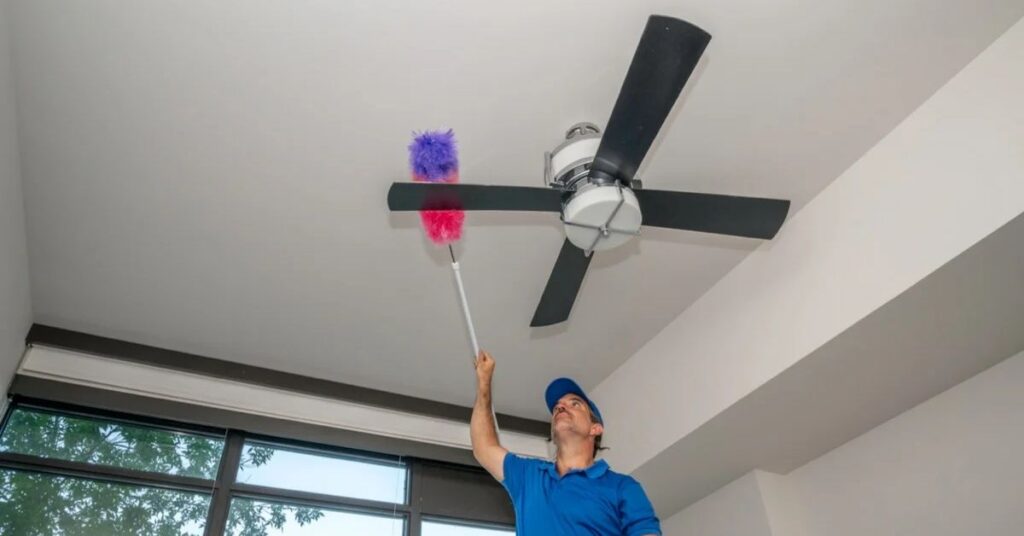
it is very crucial to clean the fan blades in order to get rid of any accumulated dust and debris.
During operation, dust accumulation can cause noise and impair balance. Wipe down each blade with a microfiber cloth or dusting brush to make sure it’s clean and clear of any obstructions.
Adjusting Blade Pitch
The pitch of the blades can be adjusted as follows:
- Turn off the fan: To avoid mishaps, make sure the fan is off at the wall switch or breaker box before making any adjustments.
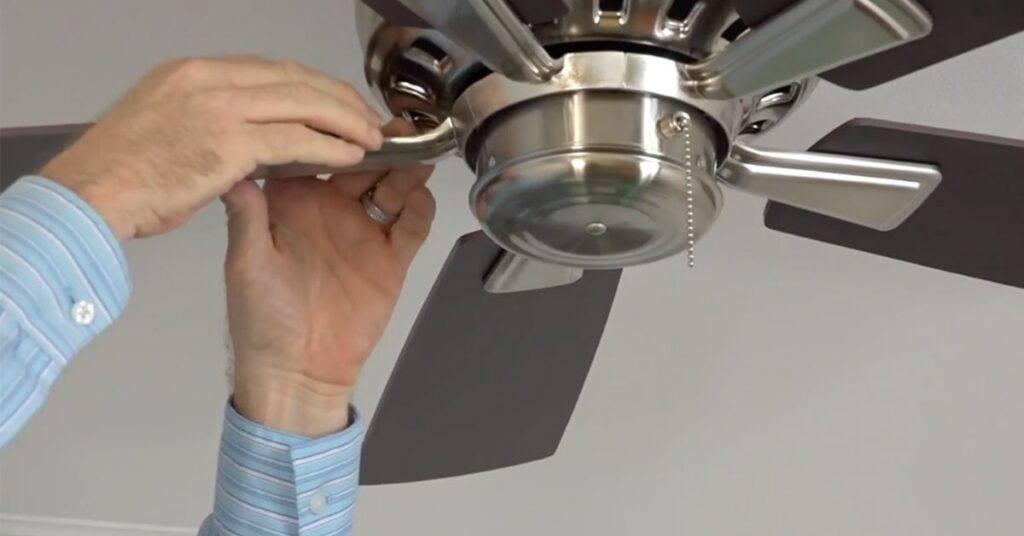
- Find the blade brackets: Usually fastened with screws, each blade is affixed to a blade bracket. Determine which screws are used to secure the blades.
- To loosen the screws on the blade brackets, use an Allen wrench or screwdriver. Just loosen them enough to allow the blades to move; you don’t have to remove them entirely.
- Pitch adjustment: Gently bend each blade upward or downward to change its angle. To improve airflow, most fans have a slight upward pitch; however, to get the best balance, you might need to try a few different angles.
- Use a ruler to ensure consistency: Measure the distance between each blade’s tip and the ceiling using a ruler or measuring tape to guarantee consistent blade pitch. Pitch each blade by this until they are all at the same angle.
- After you are happy with the pitch of the blades, firmly tighten the screws on the brackets holding the blades in place.
Weight Distribution
To balance your fan, redistribute the weight as follows:
- Determine which blade is heavier by shutting off the fan and examining each one closely. When the fan is not moving, you might notice that one blade is hanging lower than the others. Since this blade is probably heavier than the others, it needs to be fixed.
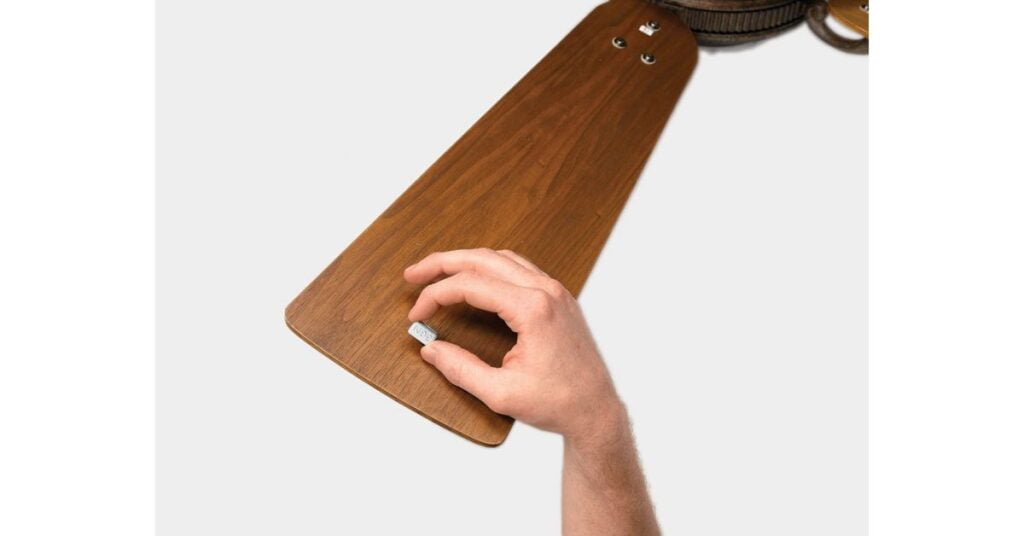
- After determining which blade is heavier, you must add weight to the lighter blades to achieve balance. For this, you can use common household items like painter’s tape, small pieces of duct tape, or adhesive weights (like coins or washers).
- Apply weights or tape: Near the end that is furthest from the blade bracket, place the adhesive weights or tape in a strategic location on the lighter blades. Before adding more weight or tape, test the fan’s functionality with a small amount at first. It might require some trial and error in terms of quantity and placement to get the right balance.
4.1 Inspection
Testing Your Work
It’s time to test your adjustments after the balancing process is complete to make sure they’ve successfully fixed any imbalance issues. Here’s how to move forward:
Start the fan at a low speed: Begin by turning on the fan at the lowest possible speed. This enables you to see any operational improvements and identify any noise or wobbling that may still exist.
Note any advancements: Remain back and pay close attention to the fan’s performance. Keep an eye on whether the wobbling has lessened or stopped entirely, as well as whether there has been a noticeable drop in noise. Take note of any modifications to the room’s airflow distribution as well.
Make necessary adjustments: Don’t be afraid to make more changes if you observe that the fan is still swaying or making an abnormal amount of noise. To attain ideal balance, check the weight distribution and blade pitch again and make any necessary adjustments.
To ensure consistent and seamless operation across a range of settings, repeat the testing procedure after making any necessary adjustments by turning the fan on at varying speeds.
To make sure your do-it-yourself balancing efforts have been successful, test your work and make any necessary adjustments.
Additional Tips
A balanced ceiling fan’s lifespan can be extended and smooth operation is guaranteed by regular maintenance. Here are some more pointers to help you maintain the best possible condition for your fan:
Frequent cleaning: An accumulation of dust and debris on fan blades can cause imbalance and lower performance. Make it a routine to use a dusting brush or microfiber cloth to clean your fan.
Regular maintenance: Arrange for routine maintenance on your ceiling fan to look for any indications of wear, loose screws, or other problems that might be causing imbalance.
Examine the motor housing, blade brackets, and mounting hardware closely. As soon as you find problems, take immediate action to stop them from getting worse.
Deal with problems as soon as you notice them: Don’t ignore your fan if it starts to wobble, make noise, or exhibit other strange behaviors. Prompt problem-solving can help keep things in balance and stop more harm. Utilize the troubleshooting procedures described in this guide to locate the issue and fix it as quickly as you can.
Check the balance of your ceiling fan during seasonal changes because variations in humidity and temperature can have an impact. To guarantee peak performance during seasonal shifts, think about doing a balance check.
Conclusion:
Using this guide’s DIY method, you can balance your ceiling fan without the need for a balancing kit.
You can achieve smoother, quieter operation and restore the balance of your fan without spending a fortune by using common household items and a few easy steps.
A balanced fan’s longevity and energy efficiency depend on regular maintenance. A balanced fan runs more smoothly, which lessens the strain on its parts and eventually increases their lifespan.
A balanced fan also uses less energy due to its improved airflow and decreased resistance, which lowers utility costs and has a smaller environmental effect.
You can make sure that your ceiling fan keeps up its dependable performance and comfort for many years to come by taking the time to balance it without the need for a balancing kit and scheduling routine maintenance.
FAQs
Why is it important to balance a ceiling fan?
Your ceiling fan will run more smoothly, make less noise, and last longer if it is balanced. Over time, wobbling from an unbalanced fan may cause damage.
What if I can’t resolve balance issues on my own?
If you’re unable to resolve balance issues with DIY methods, or if you’re unsure about making adjustments yourself, consider contacting a professional electrician or handyman for assistance
How much time does it take to get a ceiling fan balanced?
The time required to balance a ceiling fan depends on the severity of the imbalance and your experience with the process. Generally speaking, the balancing steps can take anywhere from fifteen minutes to an hour to finish.
Do I need any special tools to balance my ceiling fan?
No, you can use common household tools like a screwdriver or Allen wrench. For adjustments, tools like painter’s tape, adhesive weights, and a ruler might be useful.
Also Read:
4 Ways To Remove Water Stains Easily From The Ceiling Without Painting
Shoe Molding On Stairs: A Step-By-Step Guide To Perfect Installation